Installing PyTorch with Cuda
This tutorial was made in December 2024, and can be subjective to changes.
1. Check your NVIDIA driver
Open the NVIDIA Control Panel. Click System Information and check the driver version. It should be greater then 531.41, as this is the current driver version at the time of writing.
If you have an older version, goto https://www.nvidia.com/en-us/geforce/drivers/ and update your driver. There is an automatic and manual driver update possible if you know the videocard type.

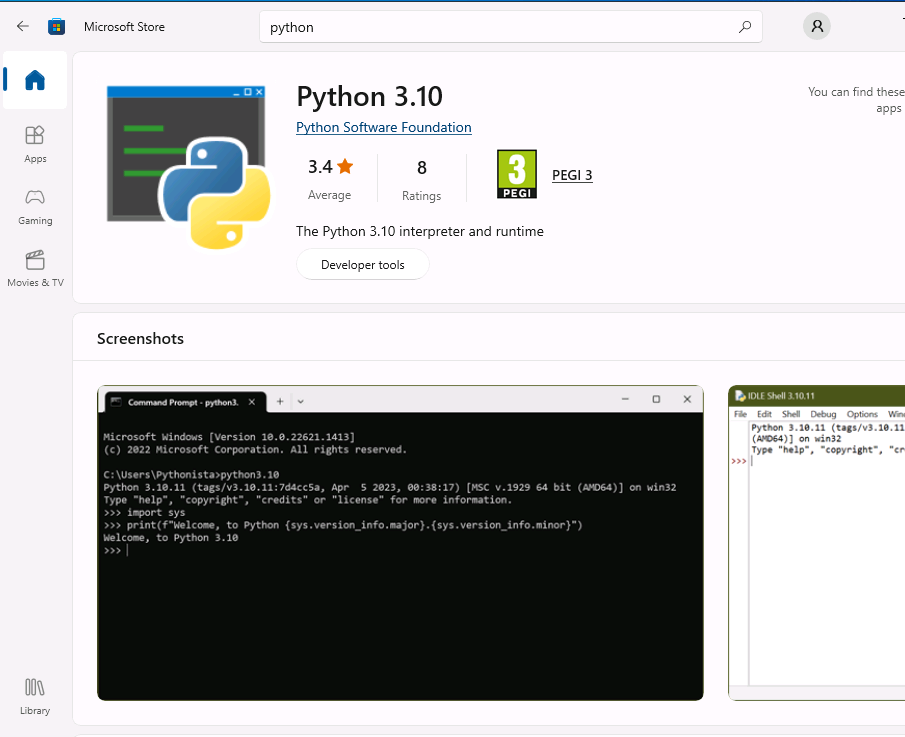
2. Open a command prompt
Open a Windows terminal or the command prompt (cmd) and type python. The Windows app store will open automatically where you can install it from!
3. Create a python environment
For this to work, you need to set the execution policy to Unrestricted. Open a Administrator Powershell terminal and issue this command:
Set-ExecutionPolicy unrestricted
In the Windows terminal you can then create an environment and activate it:
C:\Users\demo> python -m venv venv
C:\Users\demo> .\venv\Scripts\activate
4. Install pytorch with cuda
Goto the pytorch website https://pytorch.org/get-started/locally/ and select the necessary buttons using Pip.
 e.g.
e.g.
C:\Users\demo> pip3 install torch torchvision torchaudio --index-url https://download.pytorch.org/whl/cu117
And also install numpy (if it somehow missing):
C:\Users\demo> pip3 install numpy
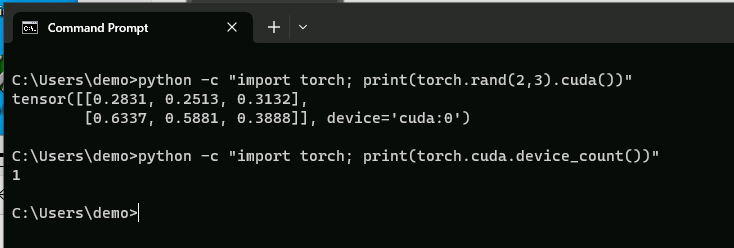
4. Test if cuda is recognized
Try this oneliner:
C:\Users\demo> python -c "import torch; print(torch.rand(2,3).cuda())"
If you get a tensor back, you are ready to go.
If you have more then 1 card installed, you can check the count:
C:\Users\demo> python -c "import torch; print(torch.cuda.device_count())"
5. Errors
- Python is too new
ERROR: Could not find a version that satisfies the requirement torch (from versions: none)
ERROR: No matching distribution found for torch
If you get this error, you have a python version that is not supported by pytorch. Go back to the app store and select an older version, after uninstalling the installed version!
- Visual C++ Redistributable missing
Microsoft Visual C++ Redistributable is not installed, this may lead to the DLL load failure.
It can be downloaded at https://aka.ms/vs/16/release/vc_redist.x64.exe
Traceback (most recent call last):
  File "<string>", line 1, in <module>
  File "C:\Users\demo\venv\Lib\site-packages\torch\__init__.py", line 262, in <module>
    _load_dll_libraries()
  File "C:\Users\demo\venv\Lib\site-packages\torch\__init__.py", line 258, in _load_dll_libraries
    raise err
OSError: [WinError 126] The specified module could not be found. Error loading "C:\Users\demo\venv\Lib\site-packages\torch\lib\c10.dll" or one of its dependencies.
You can download the file from the given URL and run it as Admin.